PROMYS
Project My Screen
An inexpensive and open source solution to easily cast desktop screen to TV set or projector.
Setup
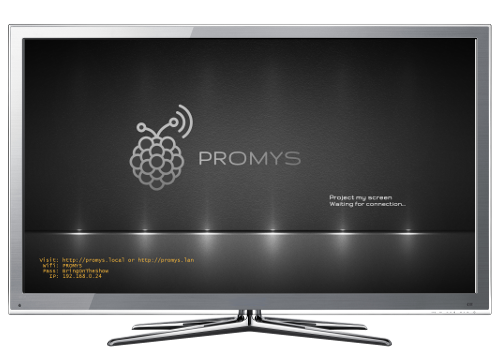
Connect a Promys device to a TV set, power both on. You should get this splash screen.
Using TV Remote you can adjust overscan (image margin) by pressing Up/Down (fine) ou Left/Right (coarse) buttons.
You may optionally connect the device to your corporate LAN with the RJ45 connector. Admins should be aware that trafic is NOT routed between Ethernet and Wifi.
Admins can control settings by visiting the http://promys.local/settings.html through which they can adjust SSID, channel, Wifi password and NAT parameters.
Use
Users can join the Promys Wifi Access Point (namely PROMYS) with default password 'BringOnTheShow'. Then they just have to visit http://promys.local (Linux/MacOS) or http://promys.lan (Windows), download the client application. Run the application (installation may be required) and their desktop screen is being broadcast to the TV or projector.
If the device is connected to LAN, anyone also on LAN can cast to the Promys device.
Building a Promys device
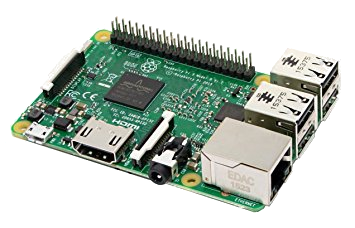
It is based on Raspberry Pi 3 board, get one with power supply and a at least 1GB micro SD card. HDMI cable is needed as well if you don't have one already.
It is reported to work with Raspberry Pi Zero W, without LAN support though.
Download the zipped image here.
Burn the image on the SD with ETCHER.
Place the micro SD in the Raspberry slot. You're set.